Jupyter Notebook をEC2やリモートのサーバ上で起動させて使用する方法です。
Jupyter Notebook サーバーの起動
ローカルで Jupyter Notebook を起動する場合は特になにもしなくてもよいですが、サーバ上で起動するには設定ファイルが必要になります。jupyter notebook --generate-configで作成してください。
$ jupyter notebook --generate-config
[I 00:01:07.633 NotebookApp] Writing notebook server cookie secret to /home/vagrant/.local/share/jupyter/runtime/notebook_cookie_secret
Writing default config to: /home/vagrant/.jupyter/jupyter_notebook_config.py
作成されたjupyter_notebook_config.pyを開き、以下の項目を変更します。指定した作業ディレクトリはmkdirで作成しておきましょう。
c.NotebookApp.ip = '*'  # localhost以外からもアクセス可能にする。
c.NotebookApp.port = 9999  # サーバのポートを指定。デフォルト8888。
c.NotebookApp.open_browser = False  # ブラウザが自動で開かないようにする。
c.NotebookApp.notebook_dir = '/home/vagrant/jupyter'  # 作業ディレクトリを指定。デフォルト起動ディレクトリ。
設定が終わったらJupyter notebookコマンドで起動してください。
$ jupyter notebook
[W 23:52:07.810 NotebookApp] WARNING: The notebook server is listening on all IP addresses and not using encryption. This is not recommended.
[W 23:52:07.810 NotebookApp] WARNING: The notebook server is listening on all IP addresses and not using authentication. This is highly insecure and not recommended.
[I 23:52:07.817 NotebookApp] Serving notebooks from local directory: /home/vagrant/jupyter
[I 23:52:07.817 NotebookApp] 0 active kernels
[I 23:52:07.817 NotebookApp] The IPython Notebook is running at: http://[all ip addresses on your system]:9999/
[I 23:52:07.817 NotebookApp] Use Control-C to stop this server and shut down all kernels (twice to skip confirmation).
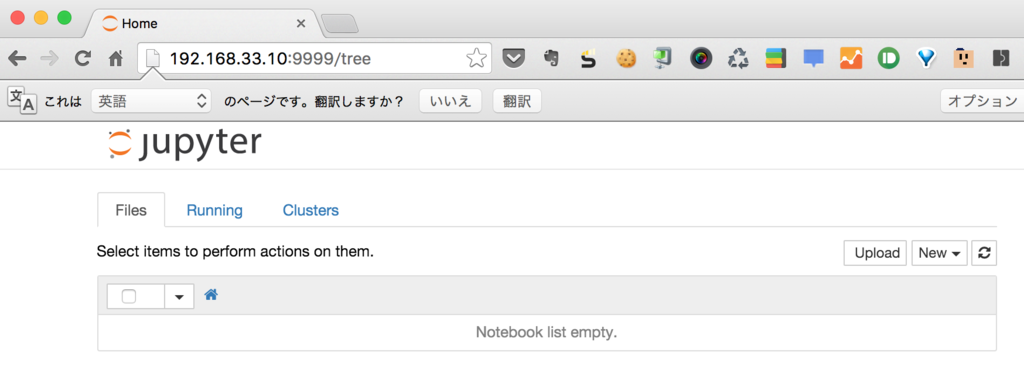
ローカル PC のブラウザからhttp://[ip adress]:9999/にアクセスできたら成功です。
ちなみにこの辺の情報を調べると、以下のようにipython profile createを使用するやり方が大半ですが、バージョンによって挙動が違ってきています。
$ ipython profile create
[ProfileCreate] Generating default config file: u'/home/vagrant/.ipython/profile_default/ipython_config.py'
[ProfileCreate] Generating default config file: u'/home/vagrant/.ipython/profile_default/ipython_kernel_config.py'
[ProfileCreate] Generating default config file: u'/home/vagrant/.ipython/profile_default/ipython_console_config.py'
[ProfileCreate] Generating default config file: u'/home/vagrant/.ipython/profile_default/ipython_notebook_config.py'
[ProfileCreate] Generating default config file: u'/home/vagrant/.ipython/profile_default/ipython_nbconvert_config.py'
$ ipython --version
3.2.0
新しいバージョンの場合は作成されるファイルが次の2種類となり、ipython_notebook_config.pyが作成されなくなっています。
$ ipython profile create
[ProfileCreate] Generating default config file: u'/home/vagrant/.ipython/profile_default/ipython_config.py'
[ProfileCreate] Generating default config file: u'/home/vagrant/.ipython/profile_default/ipython_kernel_config.py'
$ ipython --version
4.0.1
IPython からの移行もある通り、これからは Jupyter コマンドを使用した方がいいでしょう。
Migrating from IPython — Jupyter Documentation
パスワード設定
関数を使用してハッシュ化されたパスワードを作成することができます。
$ ipython
In [1]: from notebook.auth import passwd
In [2]: passwd()
Enter password:
Verify password:
Out[2]: 'sha1:6c3e6fd03093:0a2a05ab61a24b43d60c2aca255591a9163b362d'
In [3]: exit
SHA1 のハッシュ値をvi ~/.jupyter/jupyter_notebook_config.pyの password 欄にコピーしてください。
c.NotebookApp.password = u'sha1:6c3e6fd03093:0a2a05ab61a24b43d60c2aca255591a9163b362d'
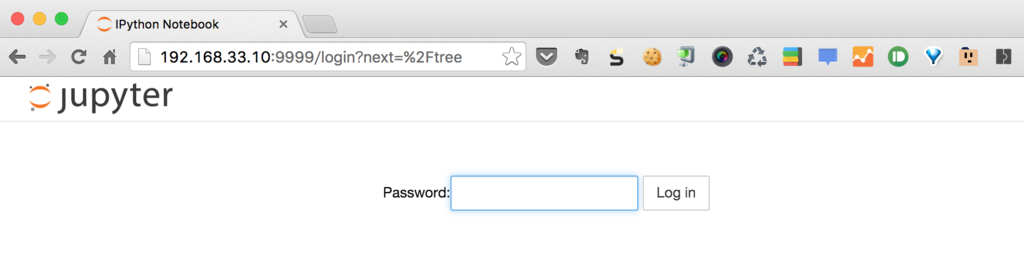
再度 Jupyter を起動してアクセスするとパスワードの入力が求められます。
ちなみに Jupyter を起動した時に表示される WARNING ですがパスワードの設定や IP 制限、SSL を使用すれば消えます。
[W 23:52:07.810 NotebookApp] WARNING: The notebook server is listening on all IP addresses and not using encryption. This is not recommended.
[W 23:52:07.810 NotebookApp] WARNING: The notebook server is listening on all IP addresses and not using authentication. This is highly insecure and not recommended.
関連記事
Jupyter Notebook(IPython)のインストールと始め方 - TASK NOTES